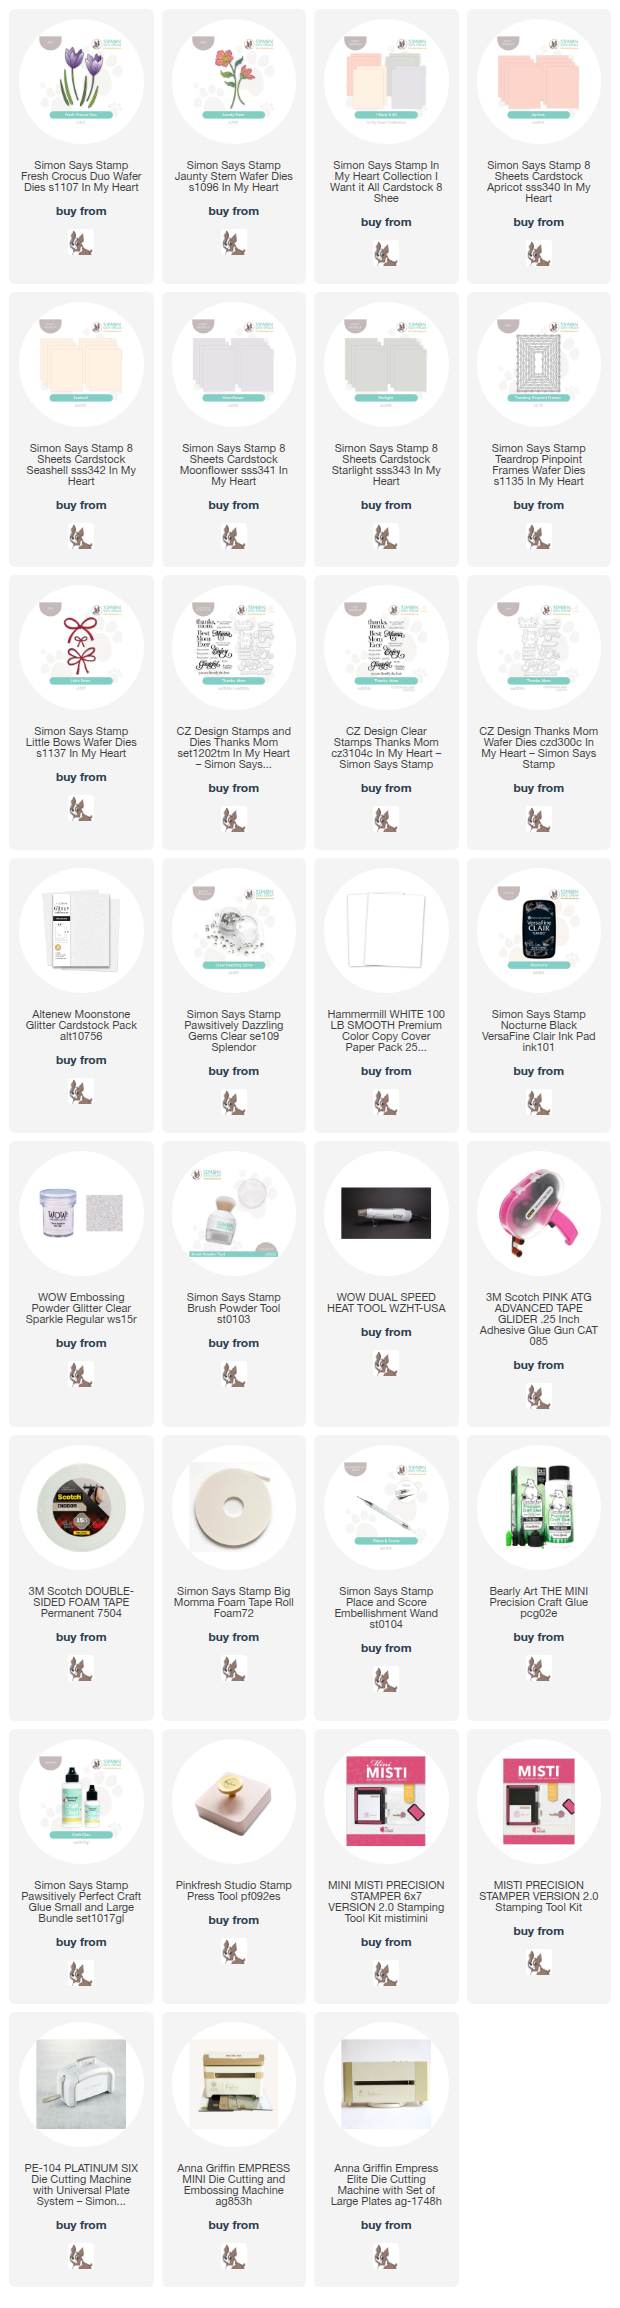
Friday, January 30, 2026

Snow or Shine - Simon Says Stamp

Good morning! While I'm starting to think more and more of moving to spring theme cards, I also know it's not too late to sneak in another snowflake, right? I mixed and matched a few items from Simon Says Stamp to create this card with a bit of a rustic feel to it!


I started off with the Pine Needle Snowflake embossing folder, and used it on Seafoam cardstock. I flipped it over to the reverse side, and then swiped my Ocean ink pad over the surface a few times. This left the indented snowflake the original color, and added some fun texture to the entire panel. I love how the ink kind of pooled up in some areas around the snowflake as well! I stamped a sentiment from Cozy in the Cold in white pigment ink, then heat embossed with white embossing powder. It's my favorite way to get a nice, crisp, white sentiment or image on black cardstock! I popped the entire panel on foam on a white cardbase, and that strip with the sentiment up on foam adhesive as well, then embellished with a heavy amount of Glitter Enamel dots in on the embossed image and around the sentiment. Here is a closer look at the finished card:


Product links are all below - including affiliate links where possible, which simply means if you use one of the links below that I receive a small commission at no additional cost to you. Thanks so much for stopping by! Have a wonderful day!!!


Thursday, January 29, 2026

Forever in My Heart - Simon Says Stamp

Good morning! I've got a fun artsy-fartsy style card to share today, using lots of supplies from Simon Says Stamp, and branching out a bit more from my usual style! I had lots of fun creating this card!


This card started with my trying a random technique that sounded fun! I used one of the Rounded Hearts dies to cut from a panel of white cardstock, then used that as a stencil. On a panel of plain white cardstock (not even watercolor paper), I used my Gansai Tambai watercolors through the stencil. These watercolors function a bit as a gouache paint if you use less water, so I used a slightly damp wide paint brush, and 3 different colors to swipe over the stencil I created. I ended up with a touch too much moisture, so I didn't get as clean of lines as I had hoped for. Instead of giving up, I decided to run with that messy look! So I used a fine line Sharpie and drew some lines around the outside, drawing one as close to the edges as possible, one slightly inside, and one slightly outside. Then I added some black splatter to finish off the messy look. I loved how it turned out! I used a score board to add some scored lines for extra texture (hard to see in the photo), added a frame using A2 Scalloped Rectangles, tied arounds ome black and white baker's twine, stamped a sentiment from Loving You Bouquet, and finished off with a few Lilac Dazzling gems before adhering that entire panel on a coordinating cardbase created with Concord and 9th cardstock! Here are more photos of this fun and messy creation: 


Product links are all below - including affiliate links where possible, which simply means if you use one of the links below that I receive a small commission at no additional cost to you. Thanks so much for stopping by! Have a wonderful day!!!


Wednesday, January 28, 2026

Happy Galentine's Day - Simon Says Stamp

Good morning! Today I've got a card that uses traditional Valentine reds and pinks - but for those gal pals in your life! I'm using a few items from the most recent Simon Says Stamp release that work perfectly together!


The die cut heart frames are from Tons of Hearts Frames die set - and are actually left from THESE cards I shared a few days ago, and were die cut from Schoolhouse Red cardstock. You know I don't like to waste anything, so I had to find a use for them! I created a watercolor background for them by doing some ink smooshing with Carnation and Peony ink on a panel of Altenew watercolor cardstock. Once it dried, I also added some White Splatter and let that dry as well. I planned a placement for all the hearts, then picked it all up with Press and Seal, added tiny dots of liquid adhesive, and pressed into place! I added sentiments from the new Reverse Galentine's Day sentiment strips, all popped up on foam strips, and then added a good sprinkle of Bubblegum Dazzling Gems to finish off! Here is a closer look at all those fun details:


Product links are all below - including affiliate links where possible, which simply means if you use one of the links below that I receive a small commission at no additional cost to you. Thanks so much for stopping by! Have a wonderful day!!!


Tuesday, January 27, 2026

Postage Scene Duo - Simon Says Stamp

Good morning! Today's cards feature fun little scenes, and sentiments that make a great focal point all on their own. Together, they make a perfect combo! I used lots of different supplies from Simon Says Stamp to put these sweet cards together!


I started off by stamping my images and sentiments from Love is in the Air and Your Joy stamp sets on some Altenew Hot Press watercolor paper - this is the one that has a smooth surface, so easier to stamp on. I stamped both images off one edge of the paper instead of just stamping in the center, just to give them a bit more interest. Then I just relaxed, listened to an audiobook, and watercolored the images with my Altenew watercolor palette! Once those finished and dried, I added a white A2 Postage Rectangles behind them to frame them, and mounted each one on colored cardstock, using Sage and Cotton Candy. Finished off with some coordinating Dazzling Gems in Sprout and Bubblegum, and some Nuvo Blizzard glitter drops on the air balloons and the heart carved in the tree trunk. Here is a closer look at each of them:


Product links are all below - including affiliate links where possible, which simply means if you use one of the links below that I receive a small commission at no additional cost to you. Thanks so much for stopping by! Have a wonderful day!!!


Monday, January 26, 2026

Poppy Windows - Simon Says Stamp

 Hello! Today I've got a fresh pop of spring color - and with the crazy weather that seems to be hitting lots of the US, I figured I wouldn't be the only one that would enjoy thinking ahead to spring days, sunshine, and flowers! I also used a flower die from Simon Says Stamp that I hadn't had a chance to use, and I absolutely love it!


I started off with the Pretty Poppies die set, and as I often like to do, I die cut it in two different color combos. For one I used Creamsicle and Green Apple, and for the other I used Lipstick Red and Green Leaf - I used black cardstock for the centers of both of them. I also used another die I hadn't put to use yet - Balcony Windows - and cut it from Ivory glitter cardstock. I used a bit of Seafoam ink in the upper left corner of white cardbases, adhered the windows with foam adhesive strips - leaving the part of the windows that open free so they move a bit like a real window - and then tucked the flowers into the window, using liquid adhesive to adhere those. I added a sentiment from Pop of Color that seemed like a perfect fit, added a white twine bow, and then a good does of Dazzling Clear gems for sparkle! Here is a closer look at these two cards:


Product links are all below - including affiliate links where possible, which simply means if you use one of the links below that I receive a small commission at no additional cost to you. Thanks so much for stopping by! Have a wonderful day!!!


Sunday, January 25, 2026

Woodland Scene Card Set - Simon Says Stamp

 Hello! Today I've got a set of cards that feature an adorable newer stamp set from Simon Says Stamp - paired up with some super fun pattern papers and other supplies to create some sweet scene cards!


I was organizing my space, and noticed I still had lots of Winter Forest pattern paper from a recent Card Kit - and had wanted to use some of these for some cute scenes. I also hadn't used the new Sweet Friendship set much yet, so I thought they would be a perfect pairing! I love how they turned out! I first chose one of the 6x6 papers with 4 little mini scenes on it, and cut it into the 4 separate pieces. I also die cut a Basic Shapes Square from Navy cardstock to frame each of them. I stamped and heat embossed each of the images from Sweet Friendship in white on vellum, and die cut with the coordinating dies. Doing the images this way made sure that they didn't cover any of the scene, I didn't need to color the images, and it gave a sweet ethereal effect as well! I adhered those with a few tiny dots of liquid adhesive behind thicker areas of the heat embossing, then die cut several hearts from Tons of Hearts Frames die set from Schoolhouse Red cardstock, using just the hearts in the center and saving the frames for another project. I popped those up on foam adhesive scattered around each scene, placed the scenes on white cardbases with foam adhesive, and then stamped sentiments from Inside Greetings 1 stamp set. Here is a closer look at each card, and more photos showing the set all together:


Product links are all below - including affiliate links where possible, which simply means if you use one of the links below that I receive a small commission at no additional cost to you. Thanks so much for stopping by! Have a wonderful day!!!